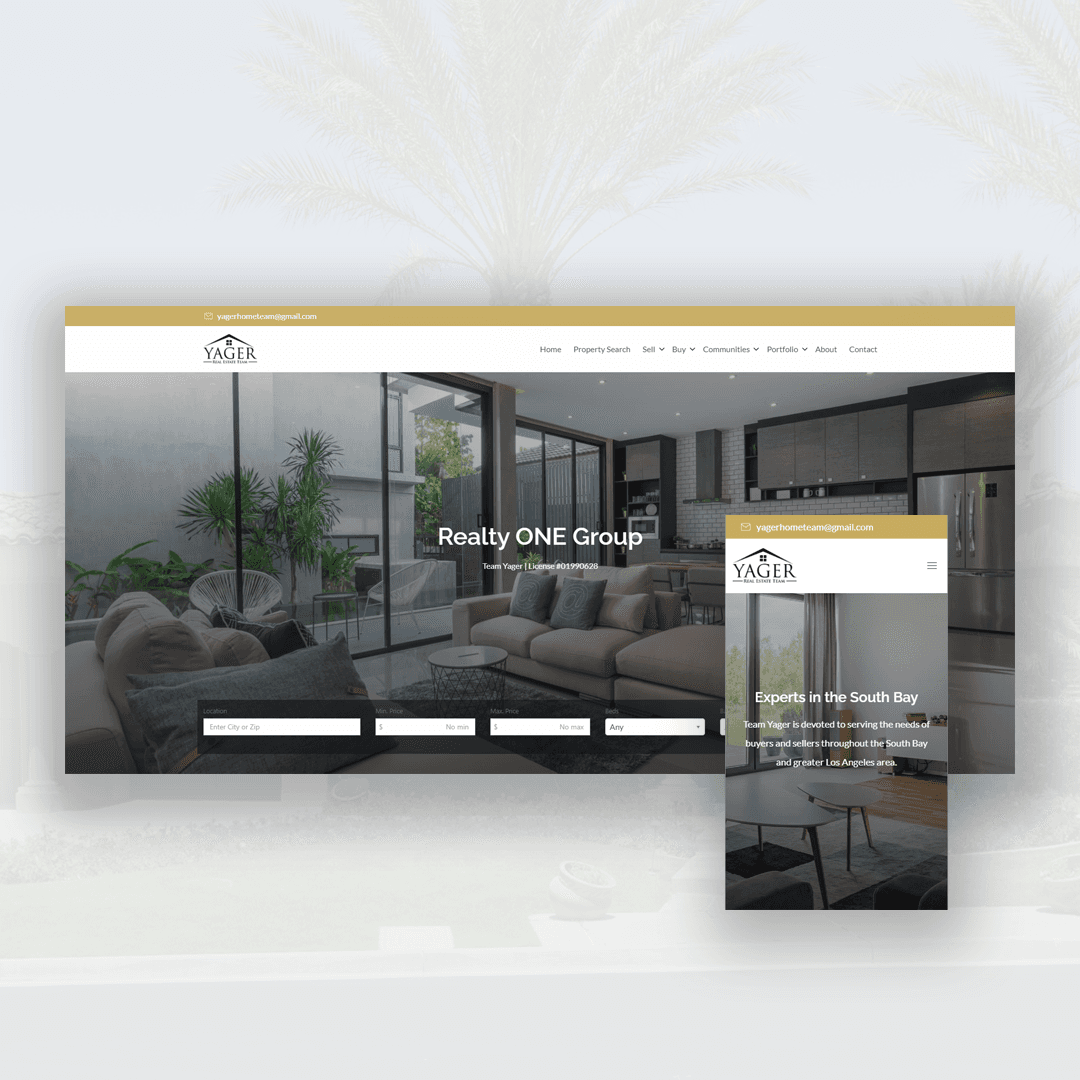
So you want to learn how to build a real estate website with a working IDX to save money. This guide is aimed to give real estate professionals the chance to try and build their own site. There are other options available and this is no longer how I build websites. This method works for people who are not tech savvy. I’ll try to keep it short so let’s get started.
Disclaimer: There may be some affiliate links throughout this article.
Keep in mind that it is good to save time and hire a professional to design the site for you. But if you’re up for the challenge, follow this guide.
Note: If you already have WordPress, then skip to Step 3.
First thing is making sure you have all the tools to get started. Check out the items you will need to build a real estate website.
- Domain name: This is your website name. If you don’t have one already pick one up at Godaddy.
- Hosting: Your website needs to be hosted on a server so people can access it. You can get A2 hosting or Siteground
- IDX by iHomefinder: This allows for visitors to search within your MLS. Purchase a plan by clicking here. Find out if your board is supported here
- Divi by Elegant Themes: Divi is a drag and drop theme. This is a great tool for beginners to get a website. The purpose of this guide is for simplicity and compatibility with iHomefinder. Divi does the trick. Purchase one here
Please note that fees will vary from monthly to yearly. IDX is a subscription and fees may apply depending on your MLS board.
Good to go? Let’s move on as I will try to split this up step by step.
1. Hosting Your Website
To get your website online, you’ll need a server to host your website files. Head over to A2 hosting which is what I use, or Siteground – another popular hosting provider. You can choose any hosting company you like. For the sake of simplicity, I will go with A2 hosting and going with its basic WordPress shared hosting plan. Real estate websites use a good amount of resources so having a good host is important for site performance.
Some of these options are my preference, choose what you think is best and what you need. Typically best to leave defaulted.
- Click on the Get Started on the package and it’ll prompt you to choose a domain
- Choose I will use my existing domain and update my nameservers
- Enter in the domain name you will be using
- Choose a billing cycle
- You can opt out of the “Dedicated IP” option
- Don’t opt in for turbo boost
- No need to opt in for priority support unless you want it
- The option for back up is entirely up to you
- Choose your server location
- Choose none for “A2 Website Builder”
- Choose none for Barracuda Spam Firewall
- Choose “Lets Encrypt” for SSL Certificates
- Choose none for “Railgun”
- Auto-install Application should be set to WordPress – A2 Optimized.
- Copy the username and password and paste it somewhere safe.
- Continue and proceed to payment
Since you chose the auto-install on step 14. WordPress should automatically be configured in the back end for you, so you don’t have to ever go in the back end of CPanel and try to manually install it. But your website still won’t be accessed until you connect your domain name to your hosting.
When logging into your A2 hosting account, you will see a panel for Connection Details. Look for text labeled nameservers and you’ll want to put those into your Godaddy DNS management. Which will be the next step now that we got hosting out of the way.
2. Connecting Domain Name to Hosting
Now let’s log in to Godaddy. Click on your user icon on the top right, click “my products” and there will be your domain name listed with a big button that is labeled “DNS”. Click that.
Scroll down half way until you see an option for name servers. It should be set to Default, if not then that means your website connection and emails are hosted elsewhere. Change that default to “Custom”.
WARNING: Don’t change your name servers if you have an MX record tied to your domain name. Not sure what that is? Check using this tool here. The MX records establish email connection between your domain name and your email provider. If you disconnect your name servers, you’ll lose connection to your business email.
Back to it then… once you chose custom, enter in those name servers you saw from your A2 hosting profile. There can be up to 2 or 4 entries. Once you get that entered in, click save.
Now we wait… typical wait time is 24 – 72 hours but rarely does it ever take that long. Give it about an hour or so.
Try going to your non-existent website now by typing in your domain name in the address bar, hit enter …moment of truth… if you see a generic website then you have successfully connected your domain name to your hosting! WHEW. All that work. Now the fun begins.
3. Downloading Divi by Elegant Themes
Divi will be used for our WordPress theme. If you haven’t already, you can pick one up here. Log in to your Divi account and download the Divi theme. It should be downloaded automatically as a ZIP folder.
Login to the back end of your website by going to yourwebsitename.com/wp-admin
Remember that login name and password you saved? Use that to login, and now you will access the back end of your website. If you’re not familiar with WordPress, it’s essentially a content management system where all website changes and edits can be made.
Locate the tab for Appearance and click on Themes. Click Add New, then click Upload Theme. Choose the Divi ZIP file you downloaded and wait for it to install. Might take a minute or two. It will present you the option to activate after it’s done, click that.
Making a Front Page
By default, WordPress displays the most recent blog posts. We want to change that. Click on “Pages” and choose to add a new page. Give it a title of “Home” and publish/save it.
Head over to Settings on the left hand option and go to Reading. You’ll see an option labeled Your Homepage displays. Choose the option for static page and for the homepage drop down, you’ll see the drop down option for “home” which is the page you just created. Save your changes.
Now when you visit your website you’ll see a blank page. That’s because the page you created doesn’t have anything.
4. Onto the Design!
Navigate to Pages again and choose the home page that we just created. There is a big purple button that says Use Divi Builder, can’t miss it. Once you click it, Divi will load up the editor and here is where you can start customizing it. If you want to get a design up quickly without playing around with it, click on the option for pre-made templates and there is one for real estate if you do a search.
Note that you’ll be prompted to enter in your username and API key to import pre-built templates. This is obtained after purchasing Divi.
After choosing the template, publish your new home page and now if you visit your website, the new design should be up based off the template or design you created.
5. Connecting the IDX
Did you purchase the IDX already? If not, head over to iHomefinder and get it set up with them. We’ll want to get set up on an iHomefinder Optima, unfortunately I won’t list the steps on how to sign up with them because every MLS board varies. It’s best to get in touch with their support team for assistance. Essentially you’ll be providing the board you are with and you’ll receive a paperwork that will need to be approved by your MLS board. The process can vary from a day to a few days but it varies from board to board.
Once you have purchased your iHomefinder Express, log in to your iHomefinder dashboard, go into Settings and you’ll see an option on the left hand side that is labeled WordPress Plugin. Copy the registration code.
Head over back to your WordPress dashboard and now we’re going to install the iHomefinder Optima Plugin. Hover over plugins and choose Add New. Search “ihomefinder”, click install and activate. Head over to your main WordPress dashboard now and you’ll notice another option titled Optima Express.
Hover over “Optima Express” and click on Register enter in that registration code you copied from the iHomefinder dashboard and register it.
Almost done…
6. Activating the Menu
After you register with that registration code, the website should automatically be set up for you now with the proper menu item. If not, keep following along below.
Head over to Appearance > Menus and make sure the Optima Express is chosen as your primary menu. If not, choose it and save it.
Check out your website and you’ll now see menu items presented to you that is configured with the iHomefinder IDX. Of course this is just the basics to getting the site up.
7. Custom Coding
When viewing your IDX pages, it might look a little plain. I heavily modify the IDX pages per my clients design and the only way to get it looking nice is through CSS. You can paste in the basic style modifications below. Paste this into the Configurations tab in the Optima Express option within the WordPress dashboard
<code><style type="text/css"> /quick search/ .ihf-quick-search-form .field-label { color: #fff; } /* adds margin to result page on mobile / .ihf-grid-result.col-xs-12 { margin-bottom: 30px; } / removes padding on details page / #ihf-main-container .ihf-listing-information-alt { padding: 0px!important; } #ihf-main-container .modal-dialog { padding-top: 13%!important; } /Search top bar/ .btn-primary { background-color: #222222!important; } /featured listings gallery home page/ #ihf-main-container .well { border: 1px solid #c5c5c5!important; font-family: Roboto, sans-serif!important; } .ihf-grid-result-price { background-color: #0B1723!important; font-size: 16px; } .ihf-grid-result-address { color: #222222!important; font-weight: 800; } #ihf-main-container .ihf-widget .row { padding: 5px; } .ihf-gallery-slider-paging a, #ihf-main-container .carousel-control { color: #0B1723!important; } #ihf-main-container .title-bar-1 { color: #fff!important; background-color: #0B1723!important; } /#ihf-main-container { padding: 30px 0px; }/ /** Take out the divider line between content and sidebar / #main-content .container:before {background: none;} / Hide Sidebar / .page #sidebar {display:none;} / Expand the content area to fullwidth **/ @media (min-width: 981px){ #left-area { width: 100%; padding: 23px 0px 0px !important; float: none !important; } } #ihf-main-container .panel-default>.panel-heading { color: #fff!important; background-color: #222222!important; } .ihf-powered-by { display: none; } #ihf-main-container .carousel-control { height: auto; background: none; border: none; } #ihf-main-container .carousel-caption { background: none; } #ihf-main-container .modal { width: auto; margin-left: 0; background-color: transparent; border: 0; } .ihf-results-links > a:nth-child(1) { display: none; } </style> <script type="text/javascript"> jQuery(document).on("ready", function() { jQuery("#ihf-main-container .nav-tabs a[href='#']").off("click"); }); </script>
Congratulations!
If your website is now up and running properly and able to search listings, you now have a working IDX powered real estate website!
What do you think of this guide? How many followed and got a real estate website up and running? I’d love to know! It definitely is a tedious process and will need to dedicate some time into building your website to suit your needs.
Sometimes it’s good to invest in your real estate business and have someone put together the site for you. There are other methods to getting a real estate site put together and one of them is going through Wix or Squarespace.
If this guide was helpful to you, please let me know!


